Agronn 737 yoke repair
and modification
First published November 1st, 2020
I accepted to take a look at a malfunctioning Agronn yoke. The problem was continuously disconnecting from the PC.
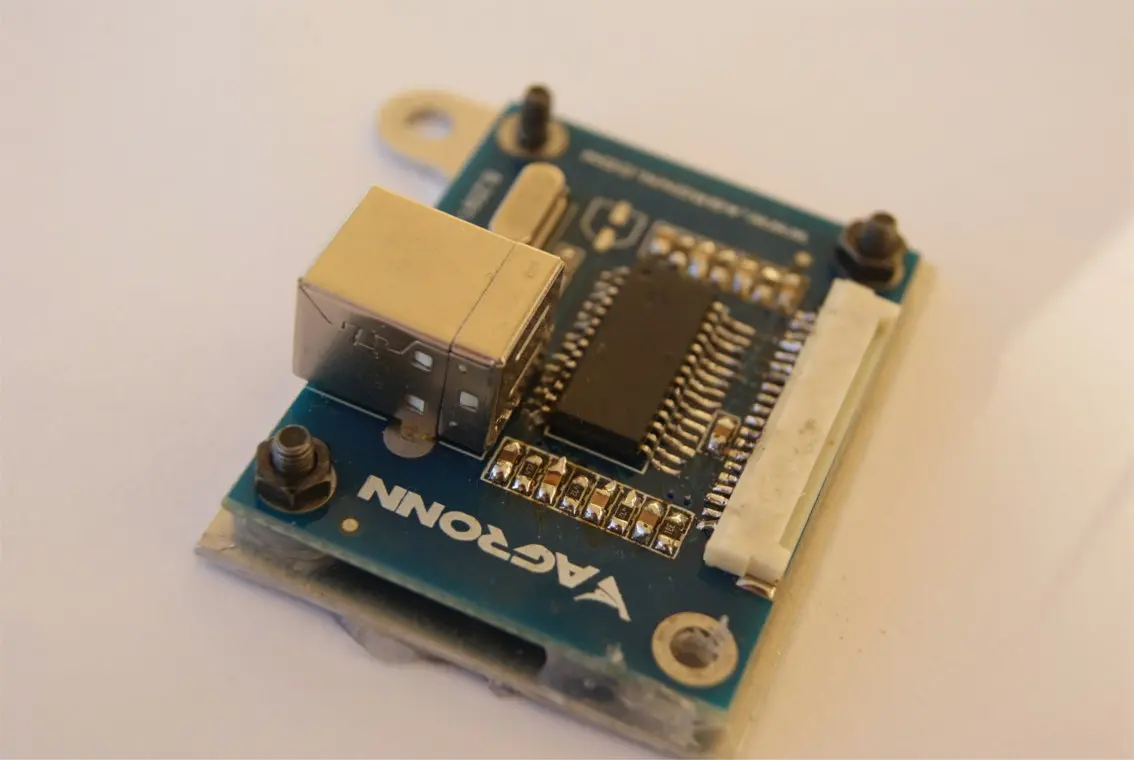
When opening the case, it revealed a very poorly soldered microcontroller board. This board, made by Agronn according to the markings, acts as a joystick controller and is connected to the switches on the yoke and the pitch and roll via hall sensors.
The board is small and populated with SMD components. A closer look reveals that all these components were hand soldered, and the components do not align properly on the pads, some are not even flat on the board. Further tests show that it has bad contacts. Trying to solder first did not give good results because you cannot access all solder points easily.
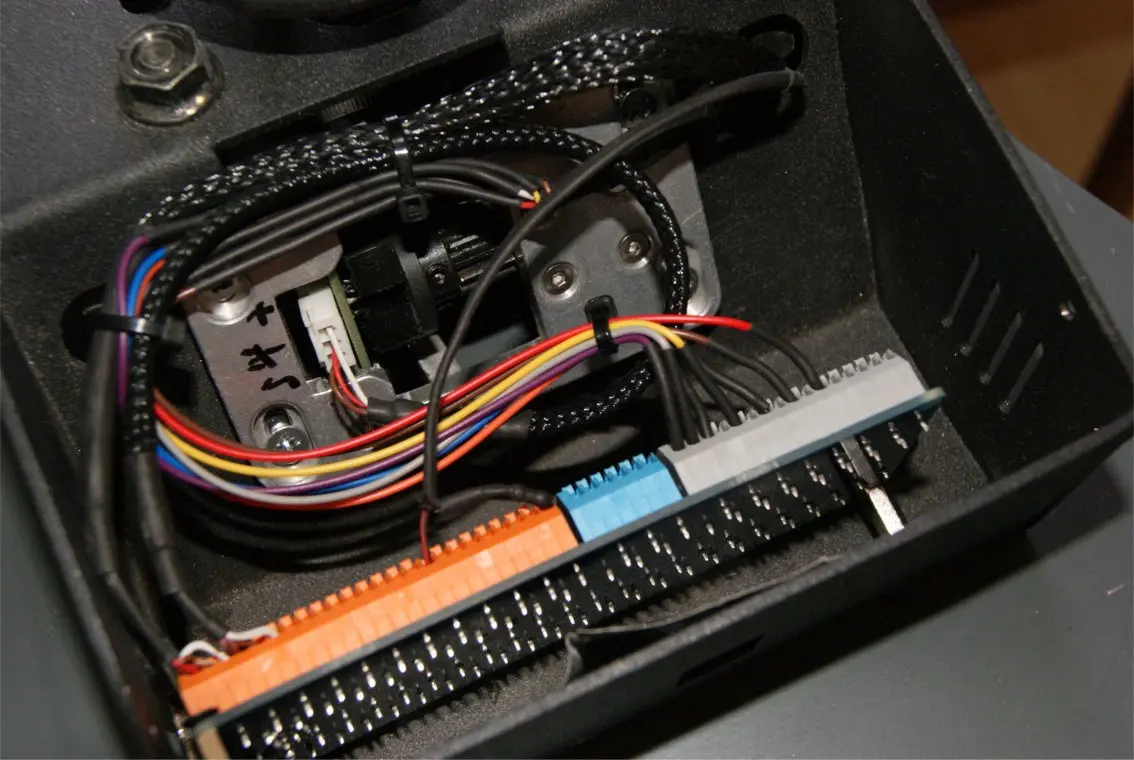
Because the client did not trust this anymore I proposed to replace the faulty board with a more conventional joystick board, like Leo Bodnar. To implement this, all wiring had to be checked and rewired to the Bodnar card.
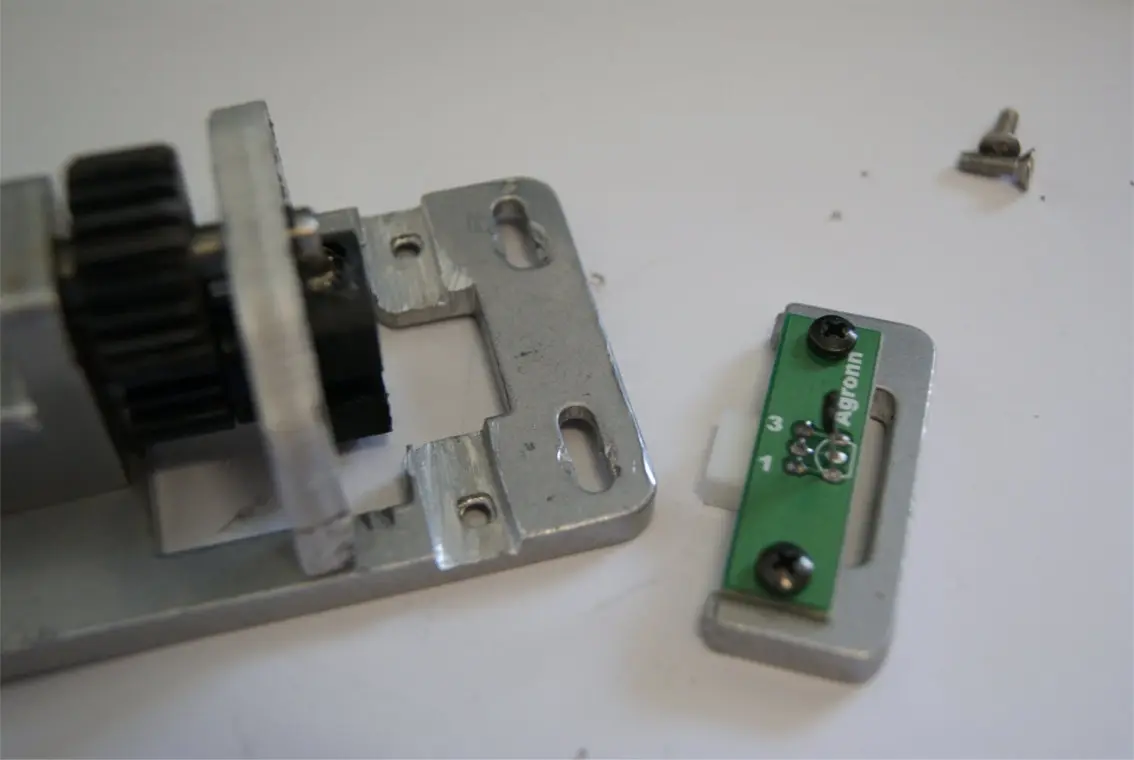
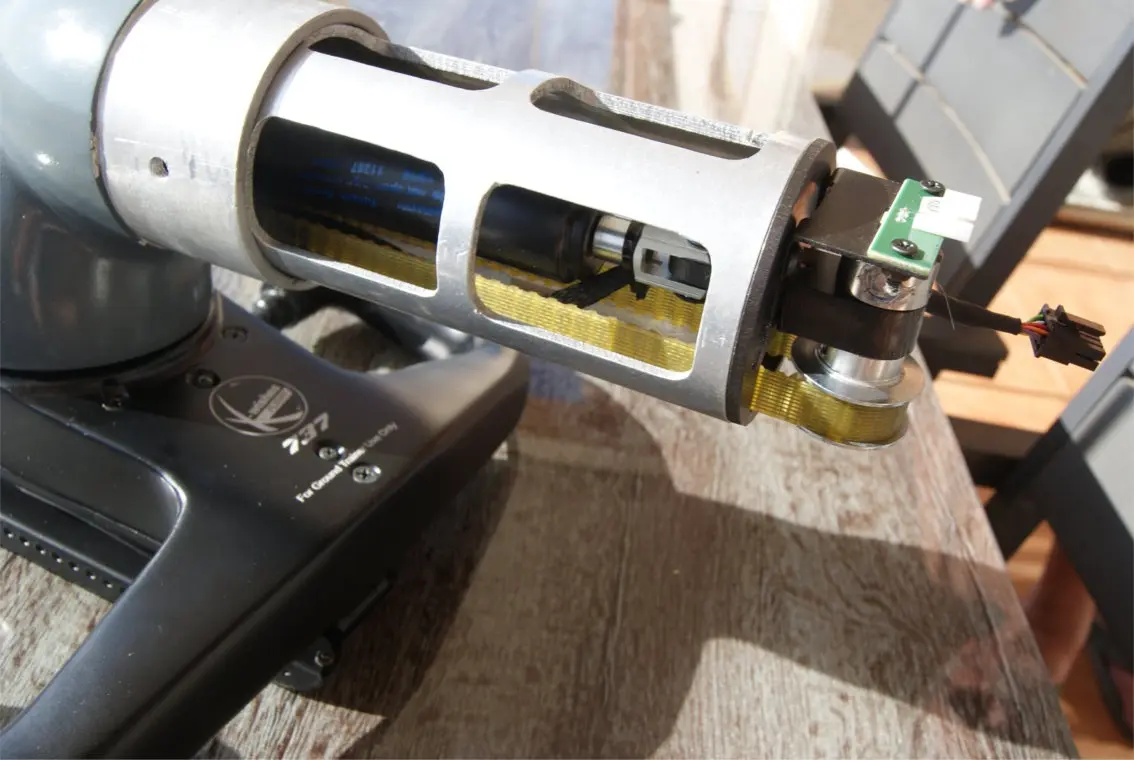
Also, the mechanic parts at the bottom were not as good as they should have been. By taking it apart, it showed that the hall sensor for pitch was mounted too deep and touched the part that carried the 2 magnets. The part with the magnets didn’t turn free, so this was something I also had to fix. This faulty part was responsible for not being able to keep the plane level while hand flying.
I have taken some pictures during the repair and dismantling of the control column. It is mostly made of solid iron and aluminum.
Take a look at the pictures, and you will see clearly that not all the parts were manufactured to the same quality level as they should be. Certainly not the controller board, and also not the structure that holds the hall sensor and the gear for control of the pitch.
A blue light was always on in the base of the yoke. When opening the base it was clear that this blue LED was swimming loose in the body without any attachment, that was something I had to fixate as well. After replacing and fixing most parts, the tests revealed a better working yoke, which was the purpose of these repairs and modifications.
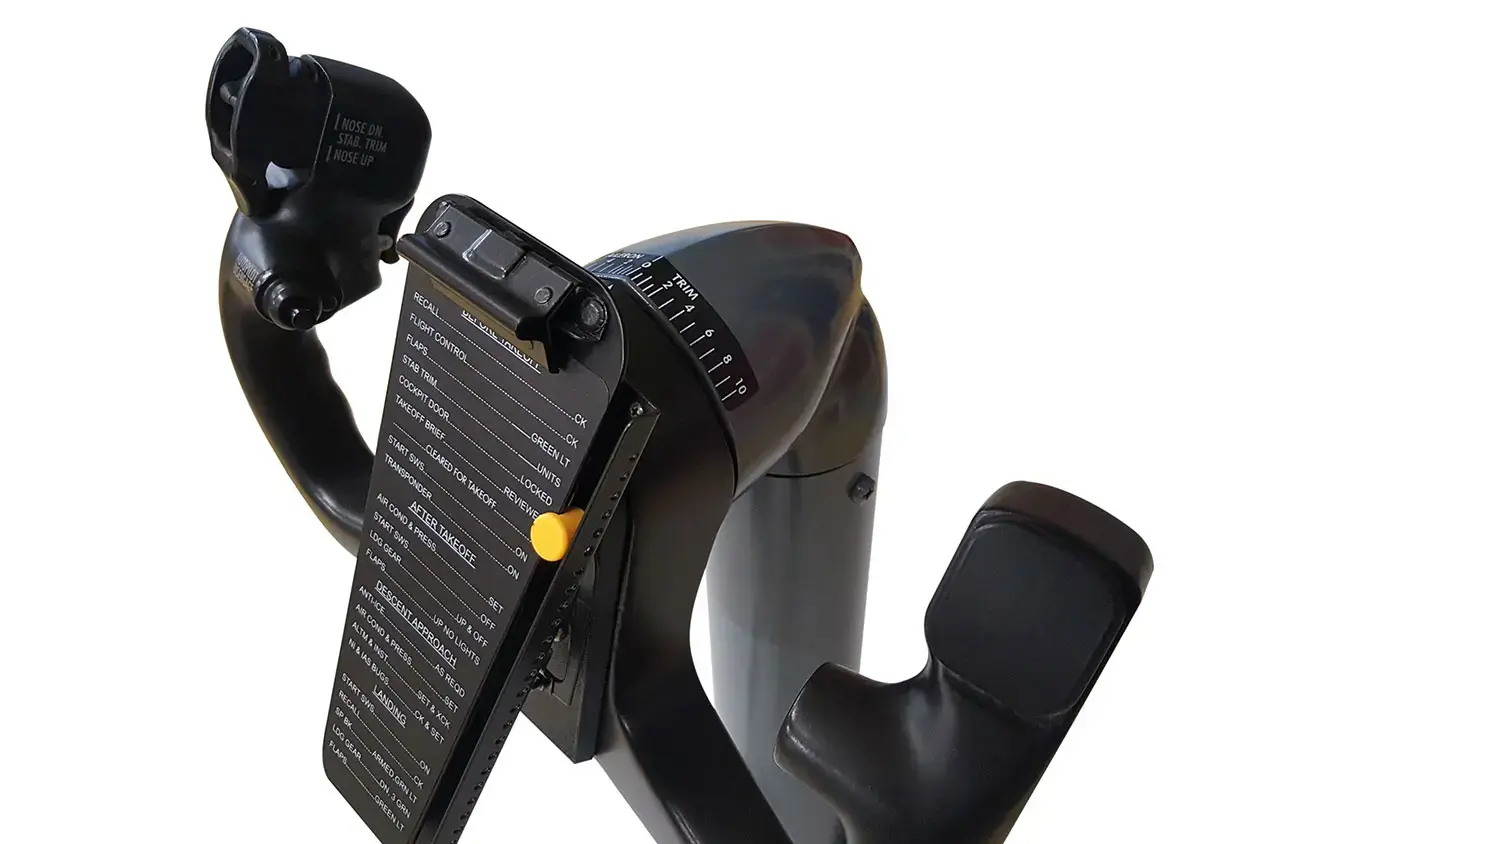
The final result is in the top first picture.